
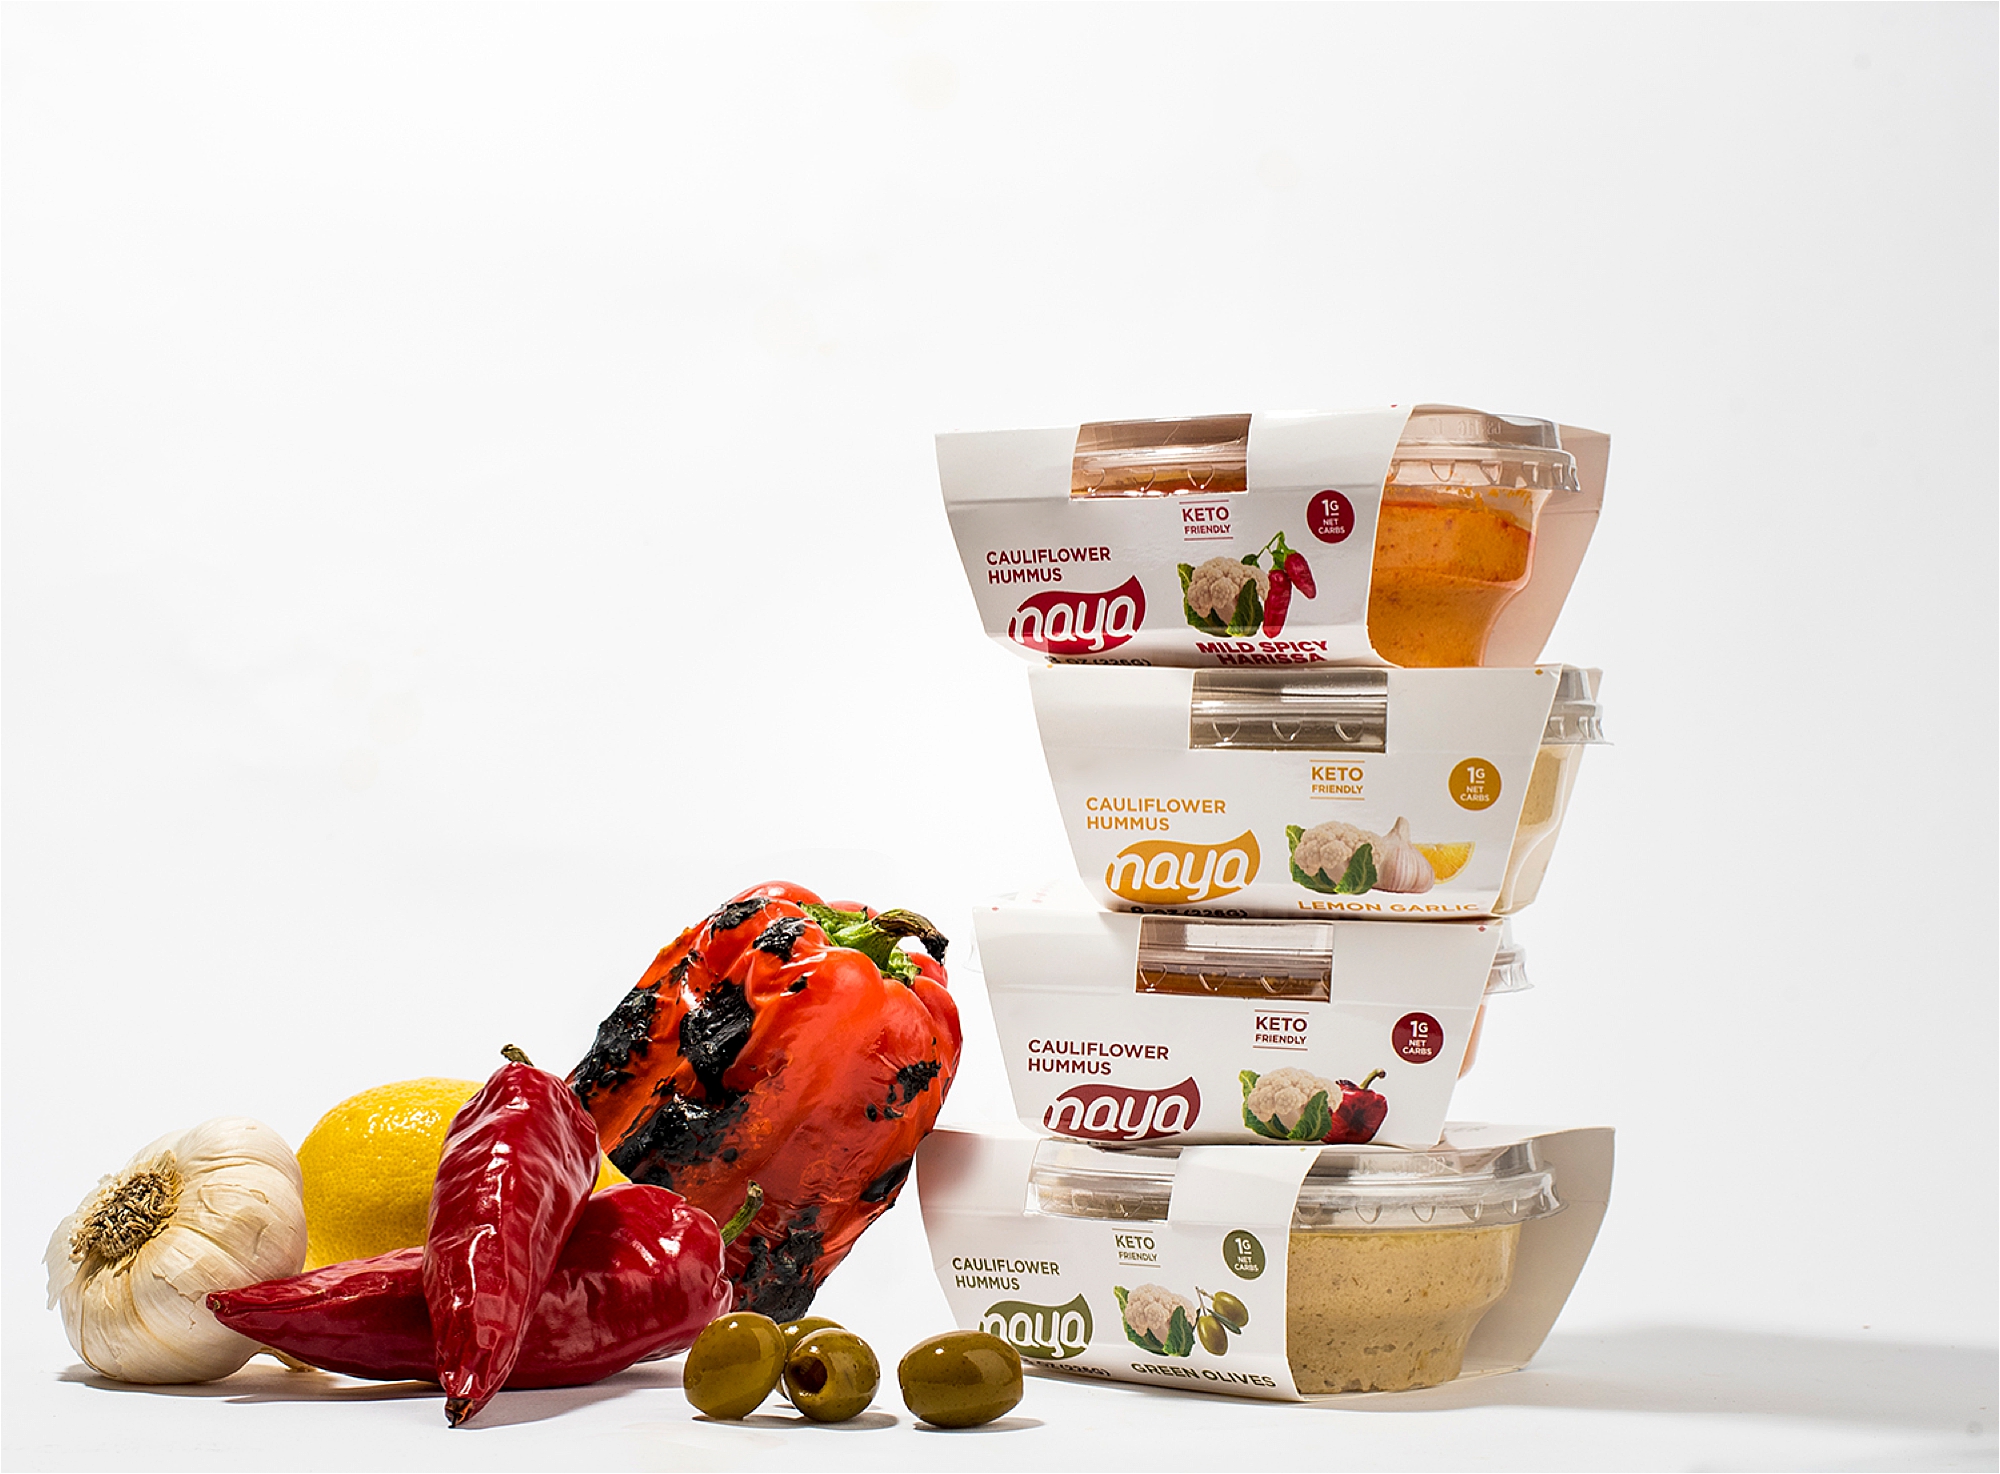
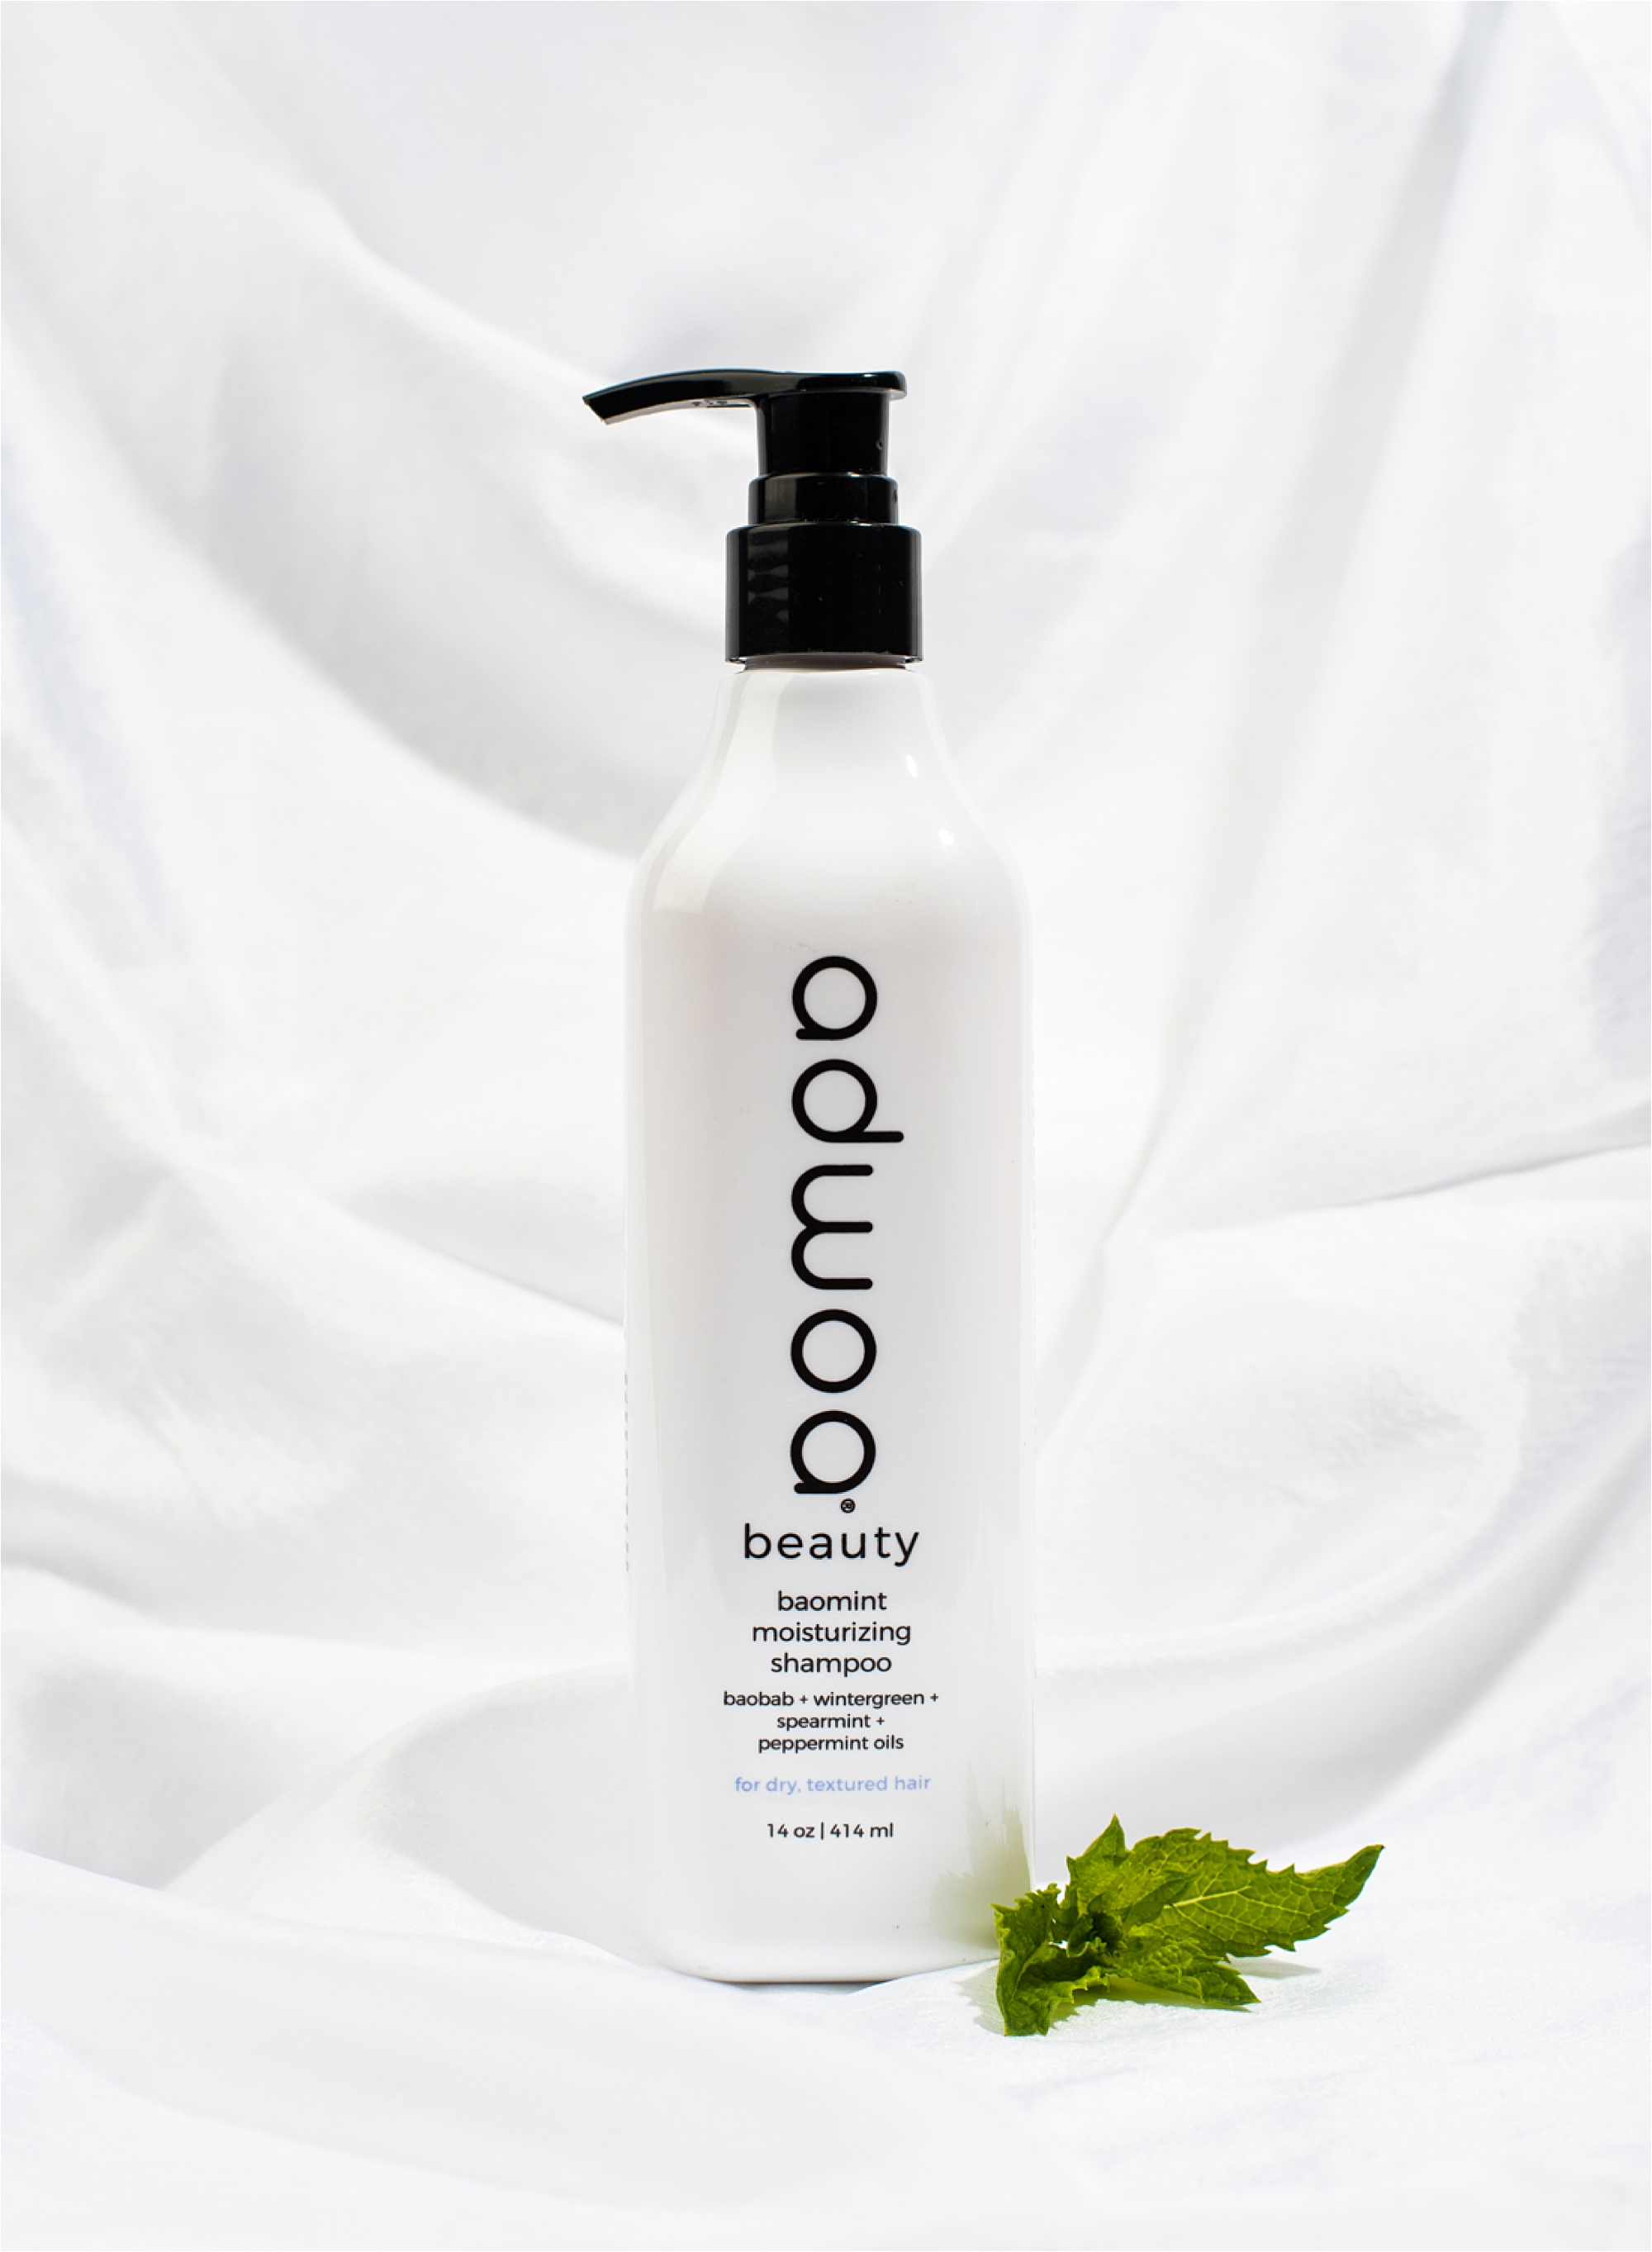
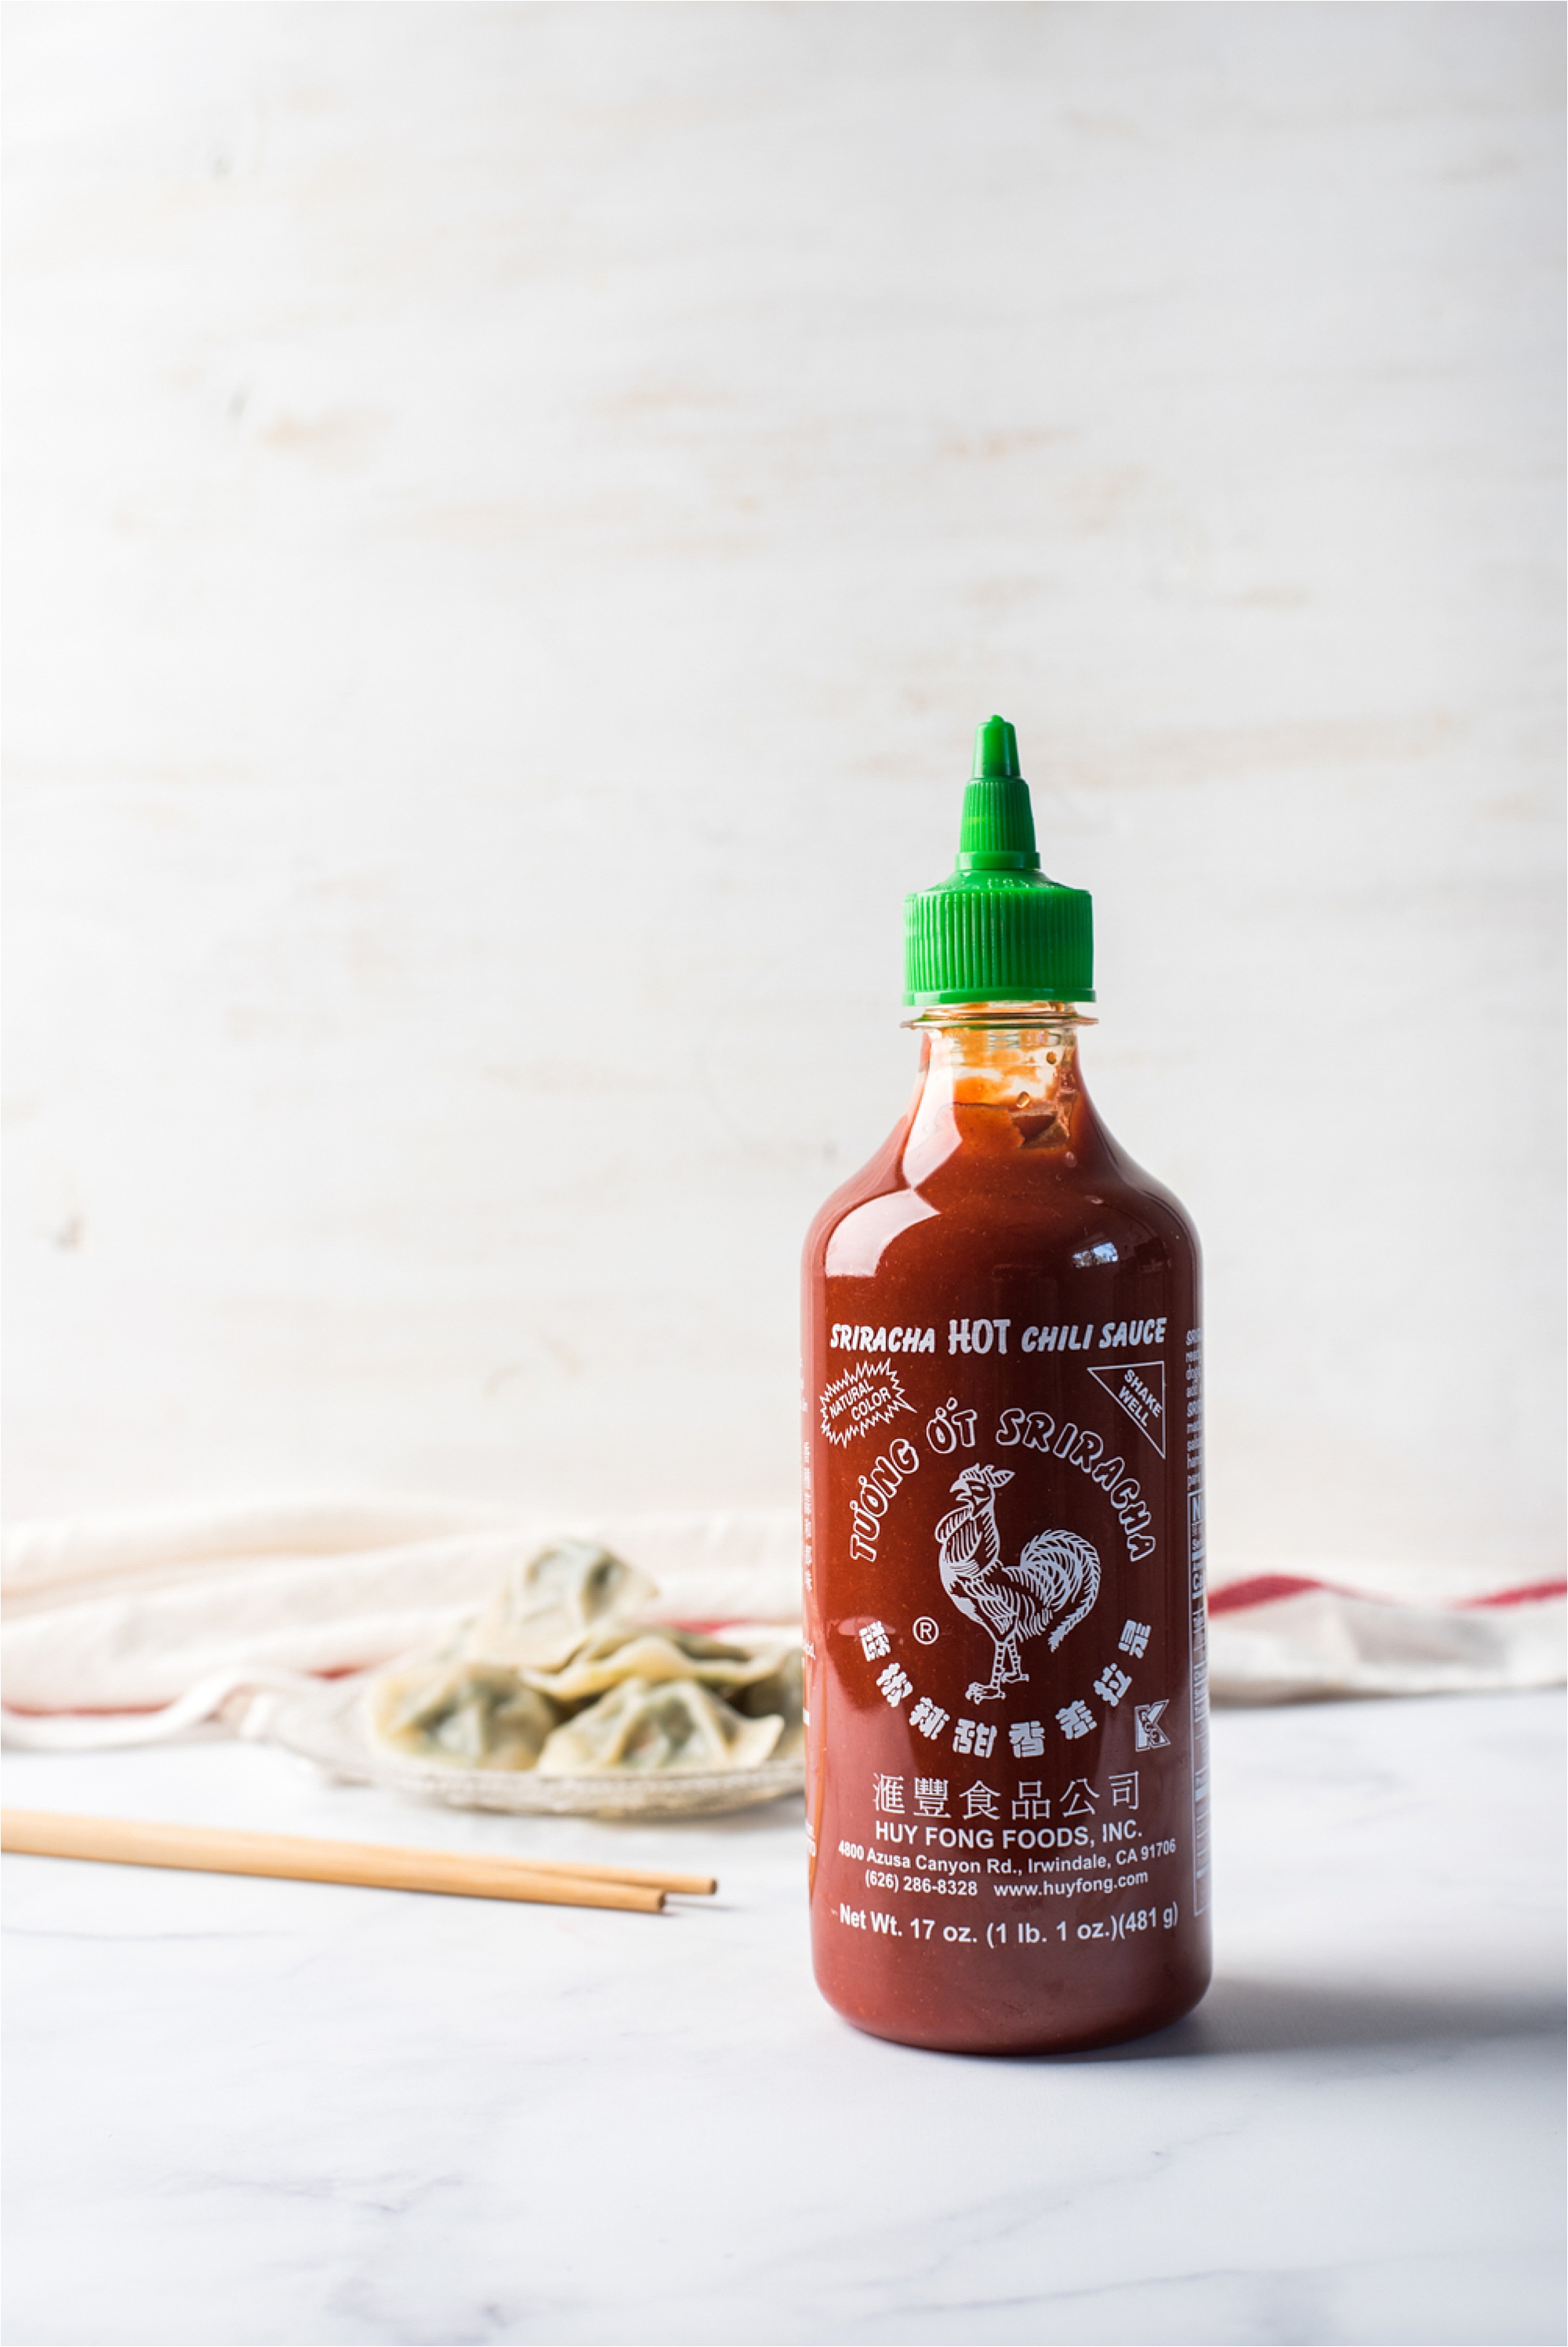
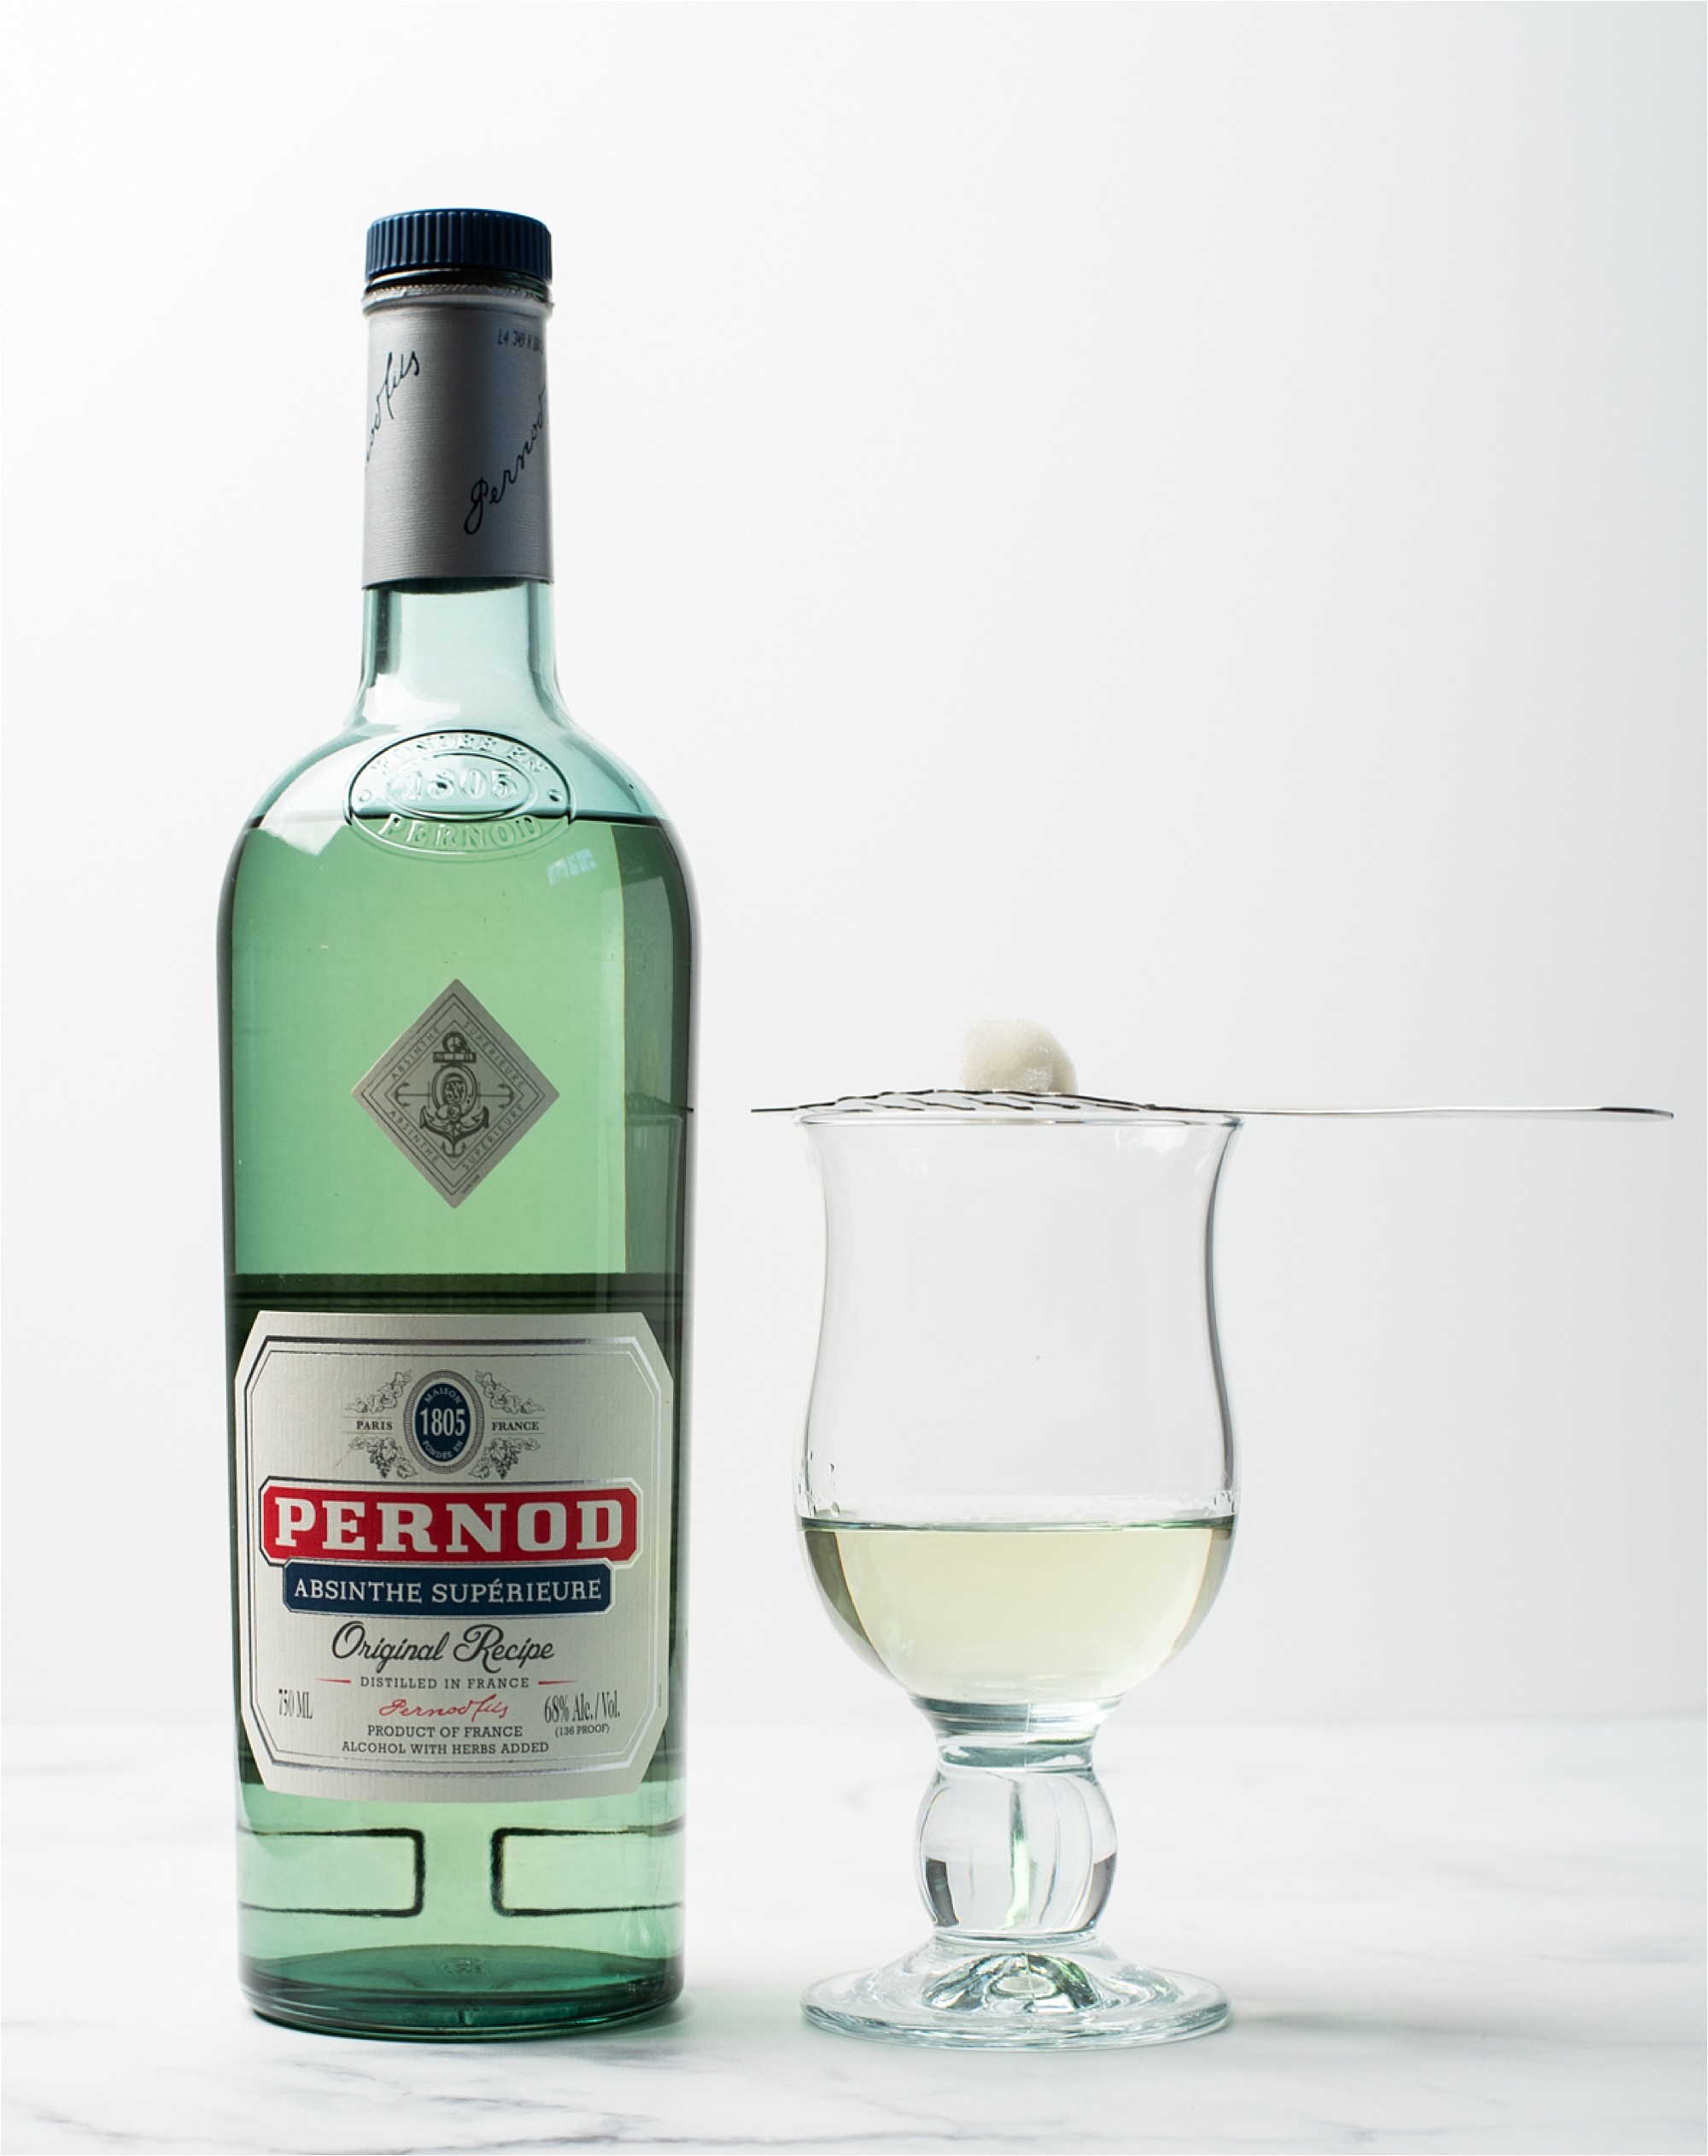
Images taken on a white backdrop look fresh and modern…if done right. A white backdrop is your best friend for selling products online. Many e-commerce stores and marketplaces (think: eBay, Amazon, Walmart Marketplace, Rakuten, Target Plus) require photographing on a white backdrop for product listings. The goal is to maintain a clean, cohesive look across their site. With so many diverse third-party sellers, most online marketplaces (all the good ones, anyway), have very strict guidelines for product photos and listings. Learning how to photography on a white backdrop is crucial.
Whether distinguishing your products in a huge marketplace, selling on your own website, or featuring food in a menu, a white backdrop helps to:
- Build trust
- Show detail
- Entice viewers
- Highlight your product
- Prove quality
We’ve all been there…
You’re searching the web for a specific item. You click on a product to see the image and read the description, but the image is tiny, blurry, and placed on a patterned background. Why did they do that? Are they hiding something? If you can’t even see the product and zoom in on the details, you’ll likely scroll right on past. It doesn’t seem trustworthy, and you have no idea what you’re getting. For successful sellers, mastering the white backdrop is a must.
Now that you know why a white background is so important, let’s take a look at how to master it:
How to Photograph Quality Images on a White Backdrop
Create the Backdrop
First and foremost, you’ll need a white backdrop. Thankfully, your mini studio is easy to set up! For a DIY product photography box, buy some white foam board and cut it to make a cube with one open side. (You can also use white glossy material on the bottom if you want a reflective look). Obviously, make sure your product can fit inside the box with a little room left over for editing flexibility.
Prepare the Lighting
You have a few options here. You can shoot outdoors in soft natural light (avoid harsh sunlight and unwanted shadows or dappling); or you can use artificial light. Natural light is great for photographing human subjects. But in this case, you may have more shaping control with artificial light. Try your hand at both!
For colorful products, try lighting your product straight on for fewer shadows. For white products, use broad, indirect light for added definition. Indirect light at an angle helps outline the white product (otherwise it will just blend in, and you’ll miss the detail). Try moving your light source up and to the right or left. To make the shadows bolder, bring the product toward the front of the box (closer to your camera).
If you need to lighten the front of the product without adjusting the light source or messing with your shadows, place a piece of white foam board under your camera lens to reflect a bit of extra light. The beauty of the DIY foam board over a product light box is that you have more control. It’s so easy to move the sides around.
Set Your White Balance
Then, adjust your camera settings to shoot against a white background. The goal is to avoid colorful tints – you want true white. A gray card will simplify this process for you:
- Place your gray card against the white backdrop where you plan to put your product. Face it toward the camera lens (from the angle you plan to shoot).
- If using artificial light, make sure your lighting is already set up the way you want it. (Re-check your white balance each time you change the lighting.)
- In AUTO shooting mode, select ‘Custom WB’ (custom white balance) from the settings menu.
- Take at least 3 photos to make sure your camera adjusts correctly.
*You can also correct white balance in Photoshop and Lightbox if it’s still not quite right.

And boom! You’ve learned how to photograph products on a white backdrop. For those who know Photoshop or Lightbox well, feel free to edit further. But if you don’t, this should give you a great start!
For more food and product photography tips, follow along with the Blog!
Lindsay is a Los Angeles-based food, product, and commercial photographer. She specializes in Still Product & Food Photography, Lifestyle & Portrait Photography, Stop Motion, and Food Styling. Connect with her HERE for product marketing!

you said: